
How to Create Booking Products In Kavio Ecommerce
Step-1 Click on Catalog >> Products >> Select Booking under Product Type as shown in the below image. Step-2 Select Attribute Family >> enter SKU >> Click to Save Product Now once you click on the Save Product button, you will be redirected to the next page, where you will find several new settings 1) Name:- Enter the name of the product. 2) URL Key:- This will be the end of the URL, for example, “products/set-of-men-casual-wear” (set-of-men-casual-wear is a URL key) 3) Tax Category:- You can select the Tax Category from the drop-down list that you want to apply to the product. 4) Product Number:- Enter the product number 5) Price:- Insert the price, cost, and special price, and set the special price date for which the special price will be shown on the website.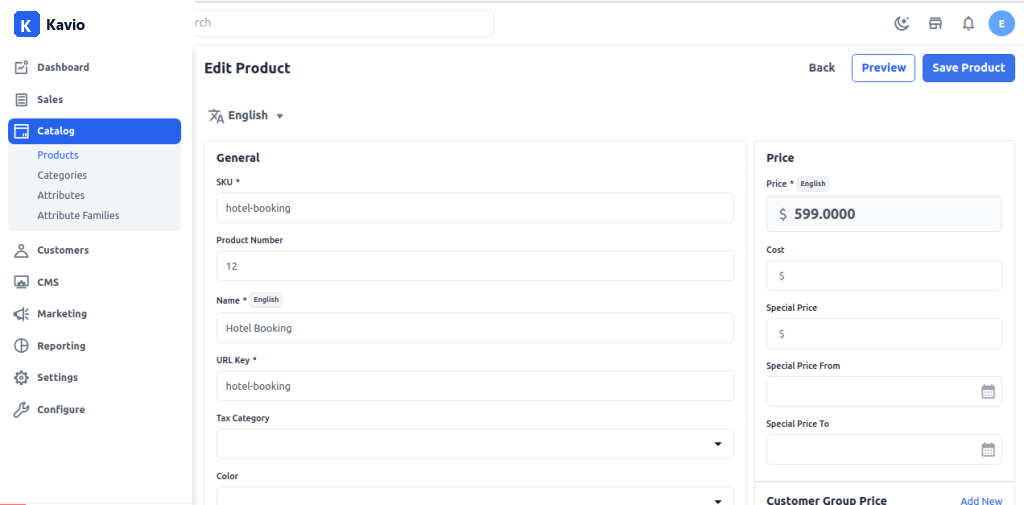
Toggle Button
New Enable the toggle button if you want to feature the product as a new product. The resulting product will be shown under the New Products section. Featured Enable the toggle button to show the product under the Featured Products section. Visible Individually Enable the toggle button to make the product visible on the front end. Status Enable the toggle button to enable the product on your eCommerce store. Allow Cancellation Enable the toggle button to allow cancellation of the booking product. If disabled, customers cannot cancel their booking from their account. But Admin still allowed to cancel the order. Guest Checkout Enable the toggle button to allow the product to be ordered by guest customers.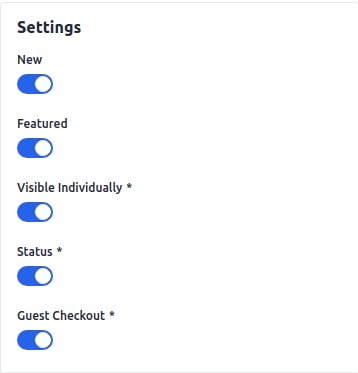
Short Description
Enter a short description of the features of the product.Description
Mention your product in detail.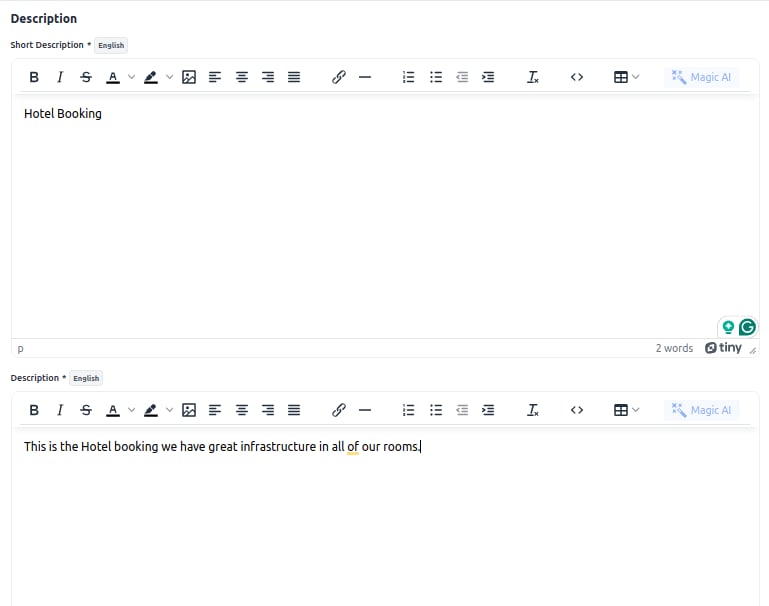
Meta Title
Provide the main title of the product by which your product will be known.Meta Keyword
The meta keyword for the product needs to be provided to improve its searchability on the search engine for specific keywords.Meta Description
Enter the description so that products can easily appear in search engine listings.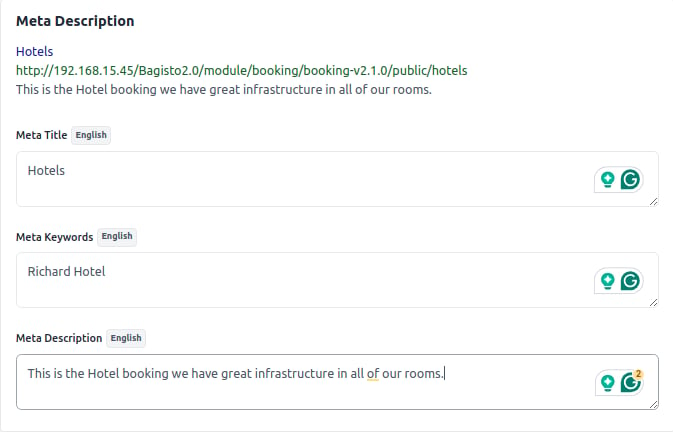
Images
To add the product images, click on Add Images. You can add multiple images for your product.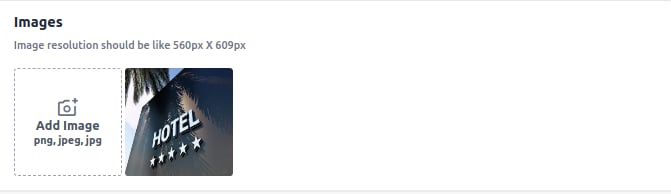
Booking Information
To create the Booking Product, select the Booking type as per choice. There are 5 below types of booking products. Let’s discuss “How to create Booking Products in Kavio Ecommerce” one by one. 1) Default 2) Appointment Booking 3) Event Booking 4) Rental Booking 5) Table BookingDefault Booking Product:-
The admin can create a Default booking product as shown below in the screenshot. In default booking products, there are two types.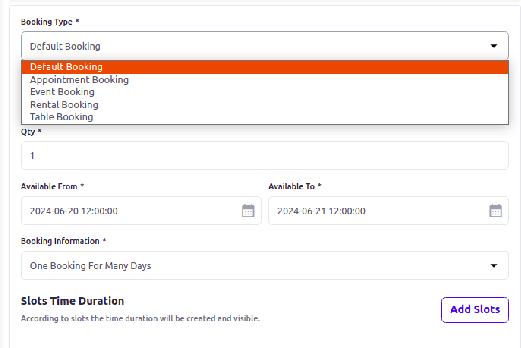
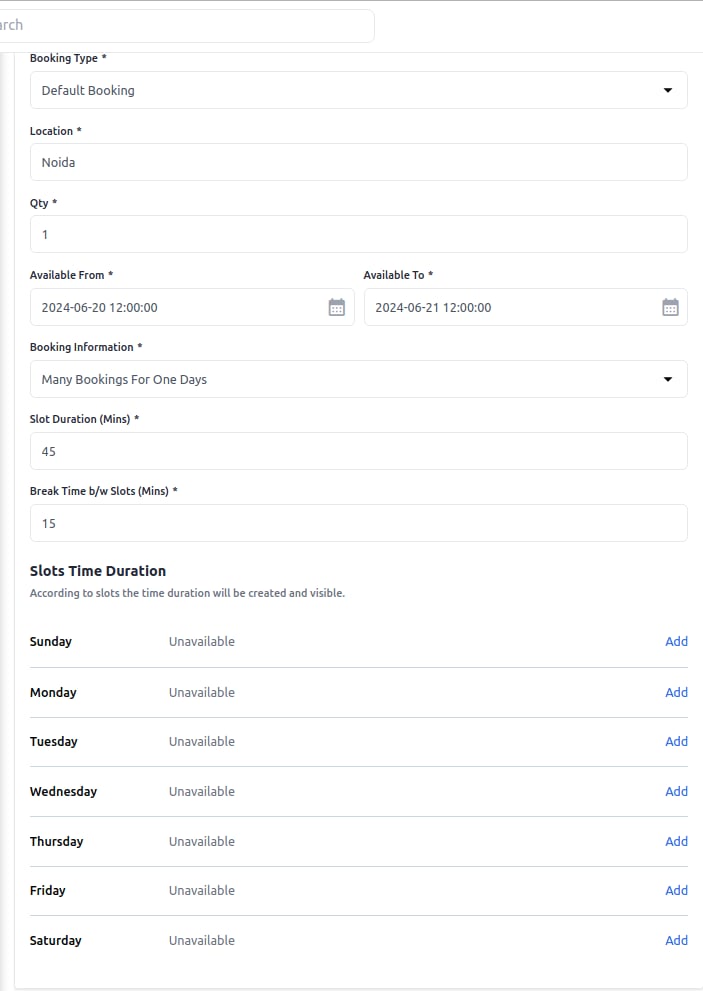
Add Slots
Click on Add icon and add the timing slots and status and then click on Save as shown in the below image.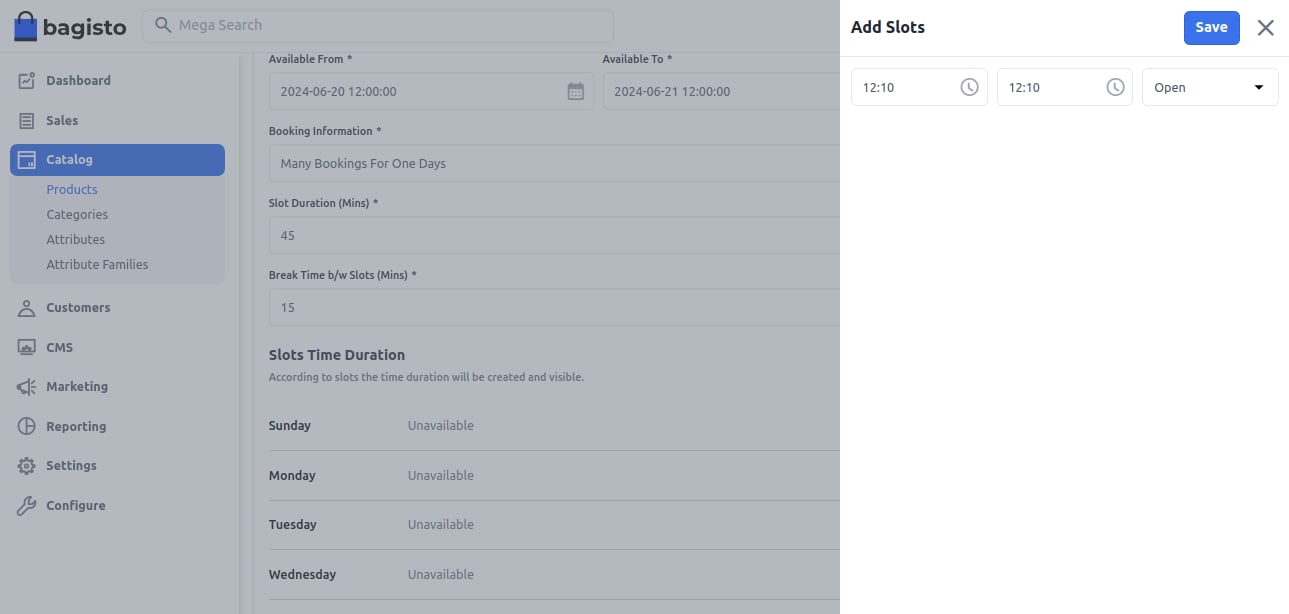
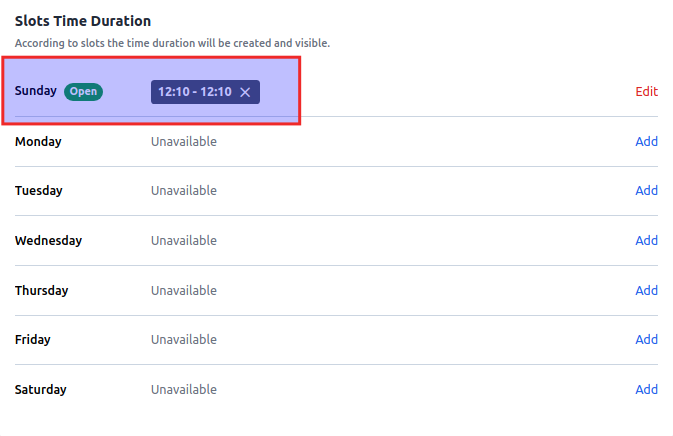
Front End:-
Here, you need to first select the date for which you want the booking. After that, you need to select the required slot. You can also view the location on Google Maps.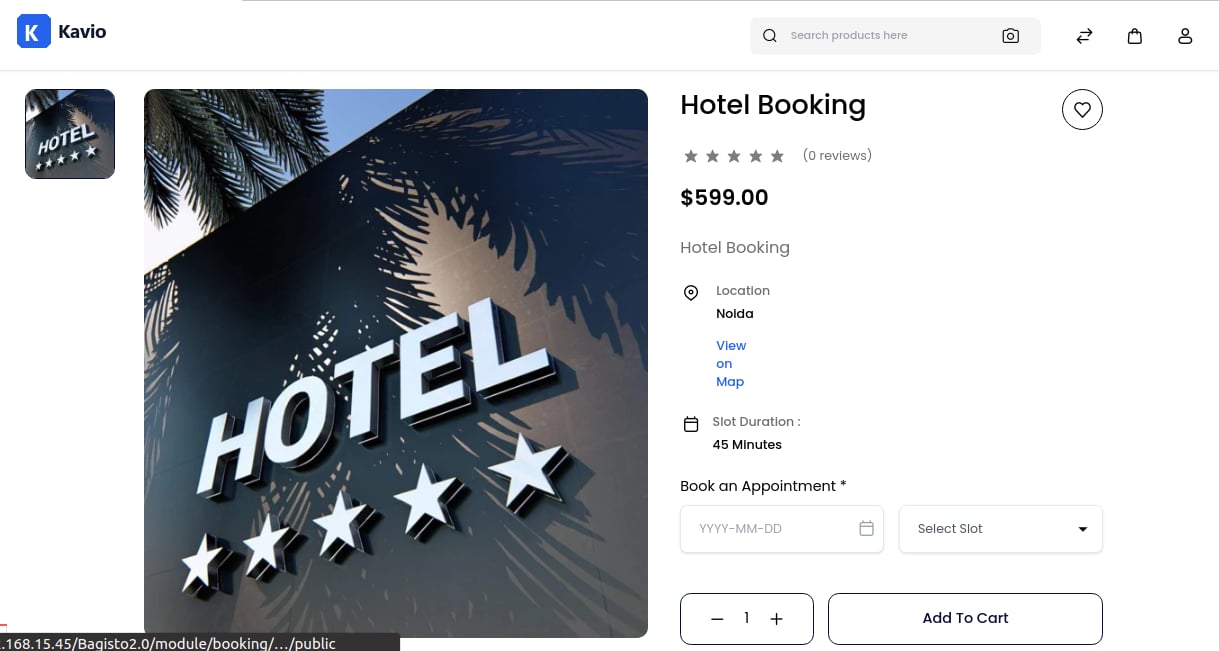
One Booking For Many Days
To create the one bookings for many day, configure the below booking detail. 1) From Day:- Select the From day for the booking. 2) To Day:- Select the To day for the booking. 3) From Time:- Select the From time of the booking. 4) To Time:- Select the To time of the booking.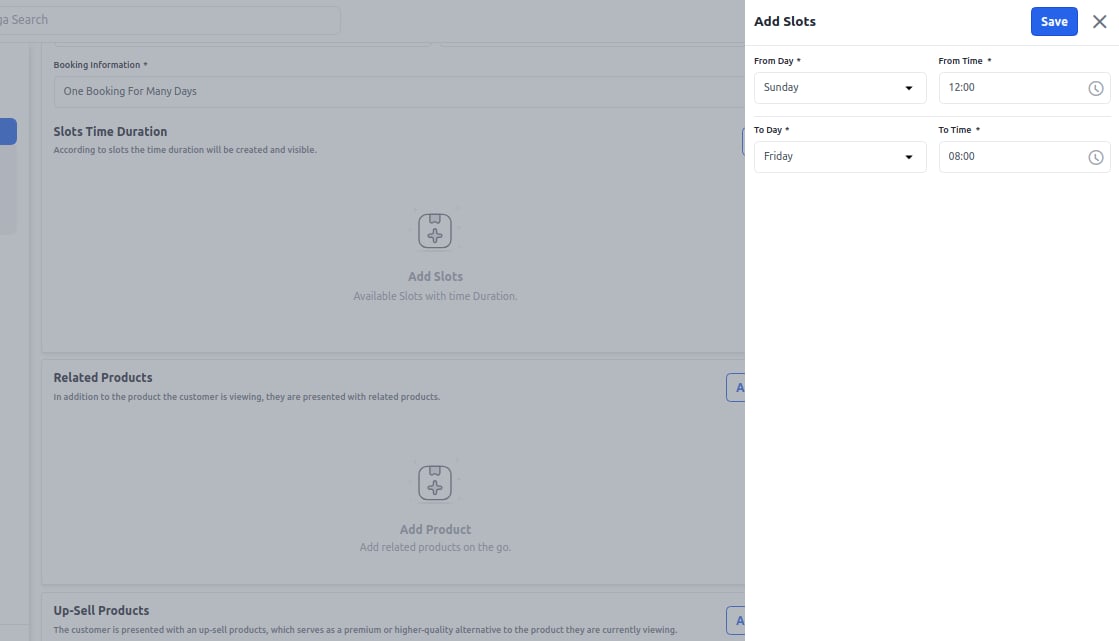

Front End:-
Here, you need to first select the date for which you want the booking. After that, you need to select the required slot. You can also view the location on google map.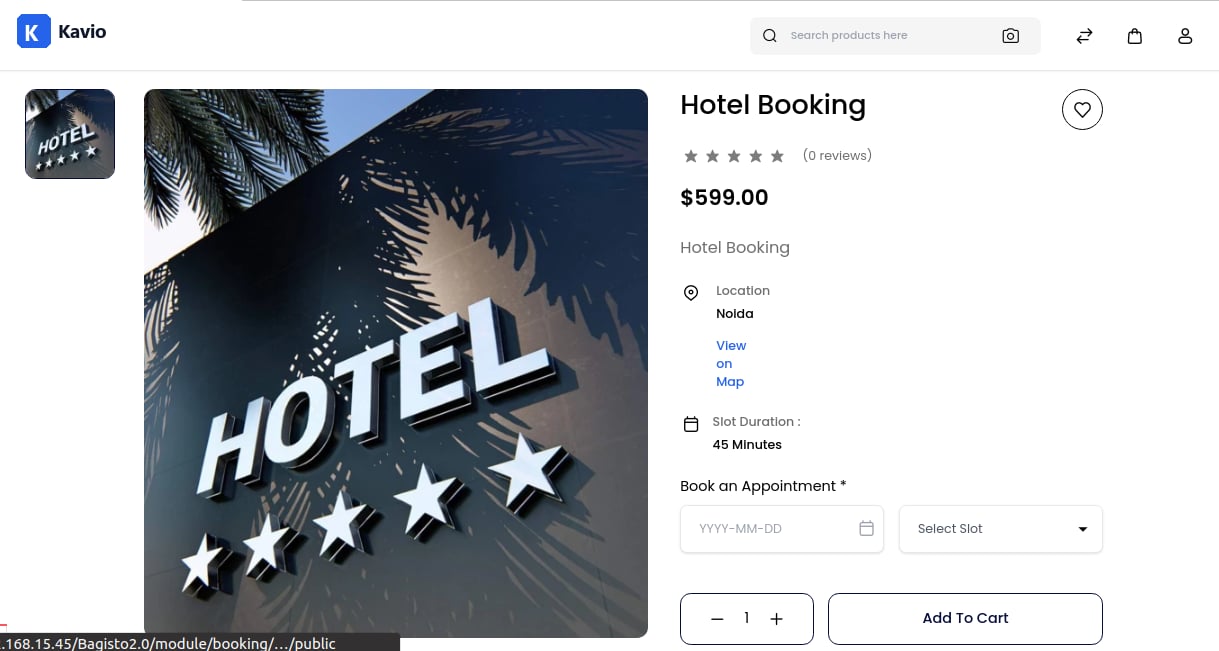
Appointment Booking:-
The admin can create an Appointment booking product as shown below in the screenshot. Here Admin has to select the Appointment Booking type.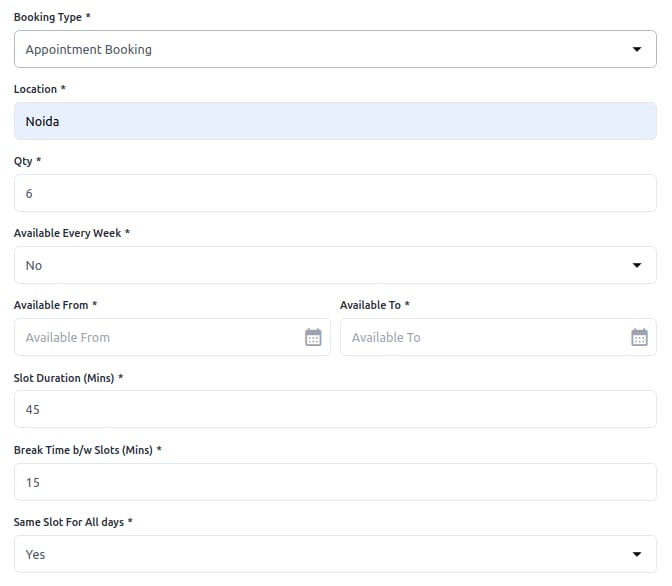
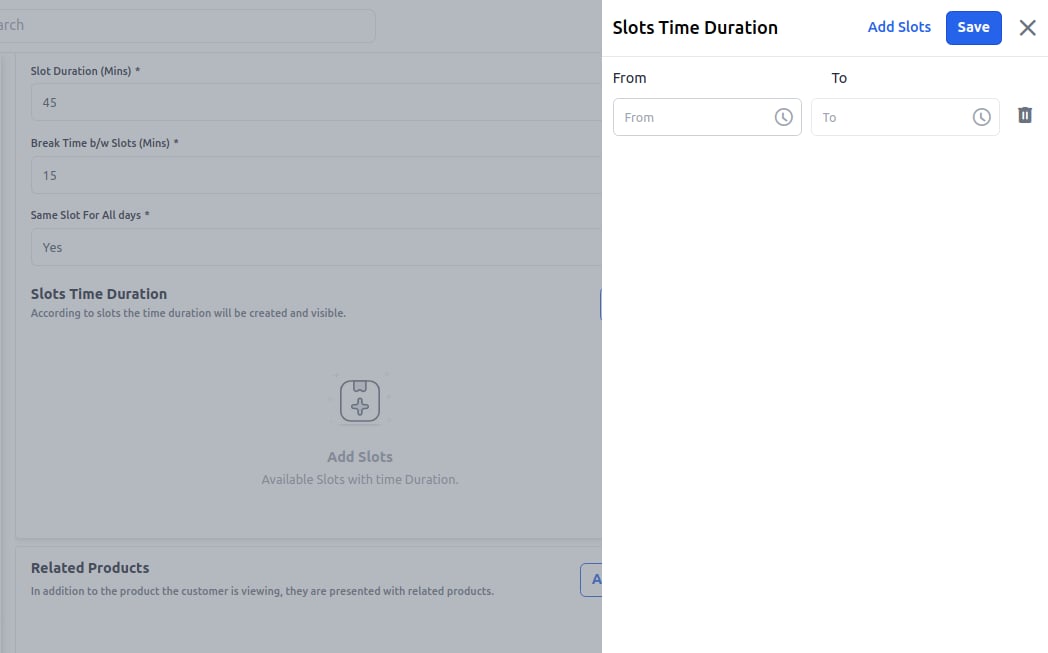
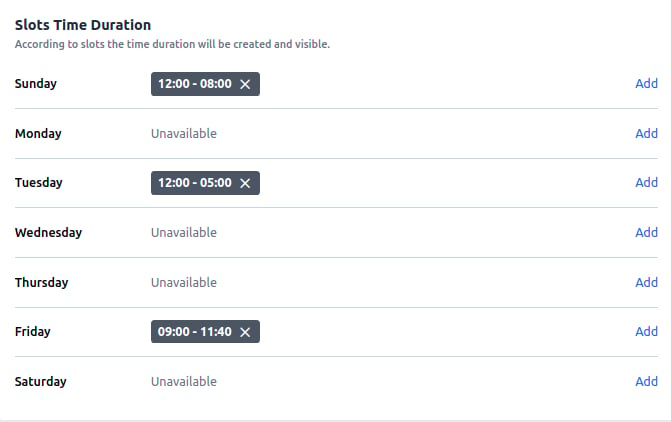
Front End:-
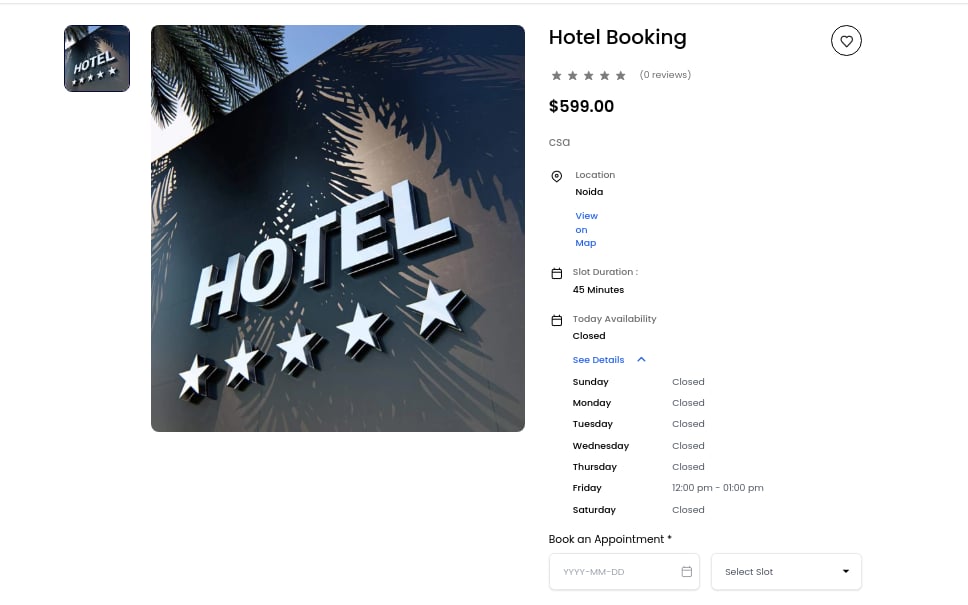
Event Booking:-
The Admin can create an Event booking product as shown below in the screenshot. Here Admin has to select the Event Booking type. 1) Location:- Enter the location for Event booking products. 2) Available From:- Select the start date of the booking. 3) Available To:- Select the end date for the booking.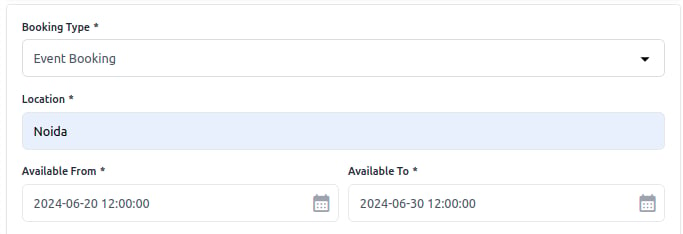
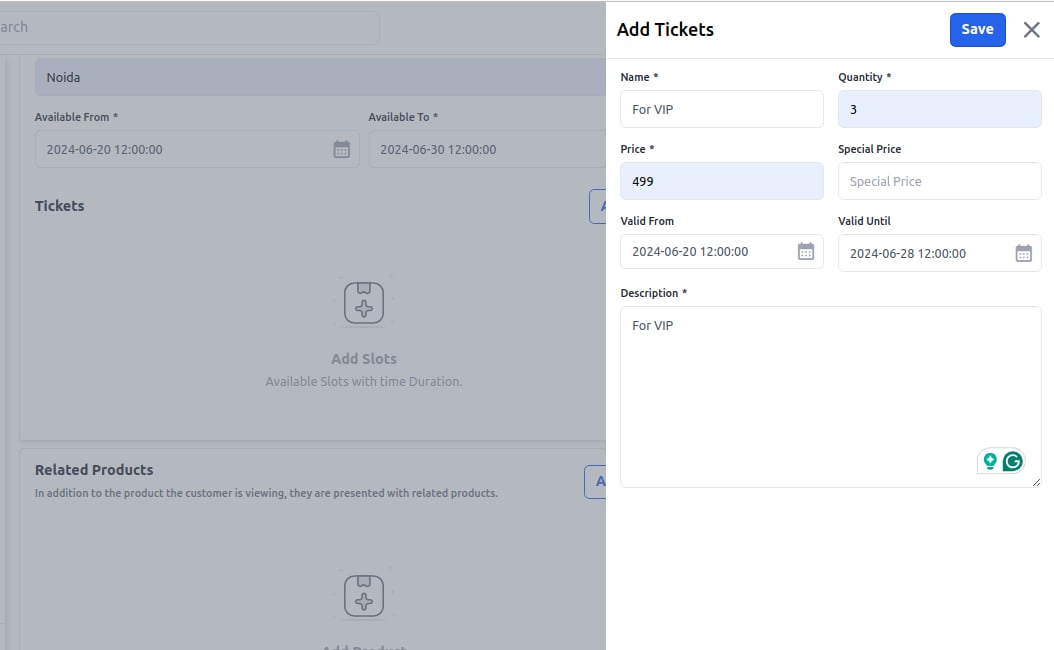
Front End:-
On the front end, you have to select the ticket quantity. This base price will be applied to each type of ticket for each quantity.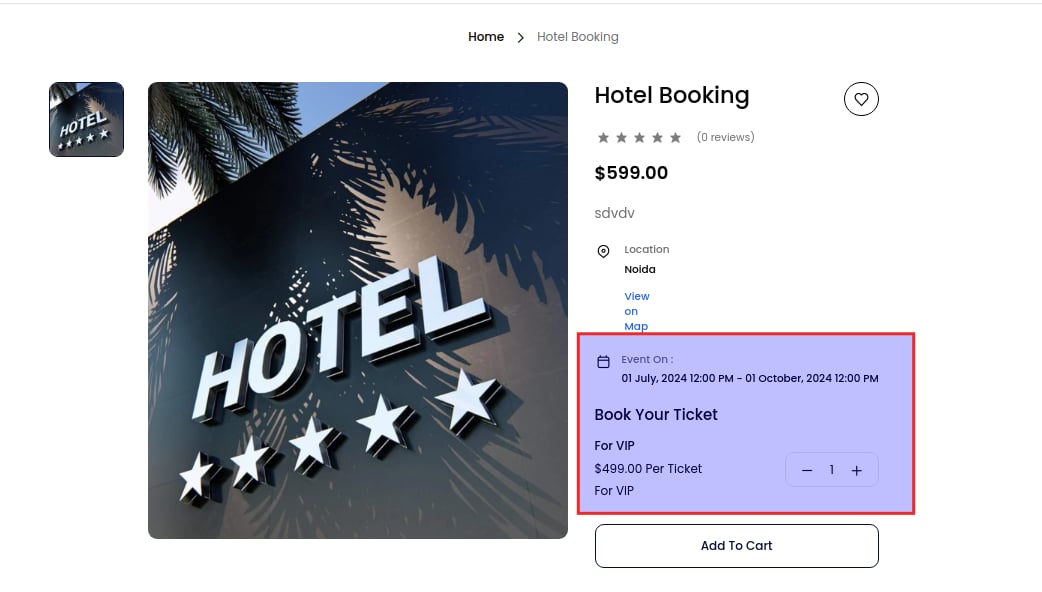
Rental Booking:-
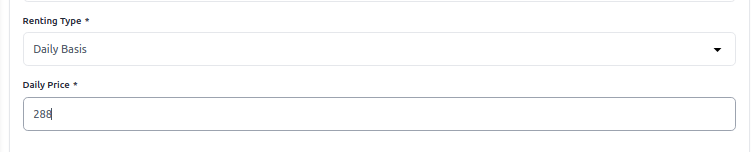
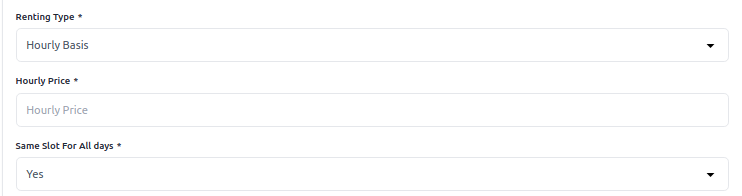
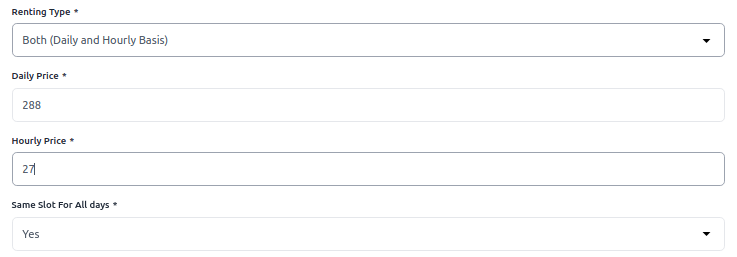
The Admin can create a Rental booking product as shown below in the screenshot. Here Admin has to select the Rental Booking type. 1) Location:- Enter the location for Rental booking products. 2) Quantity:- Enter the quantity of booking products. This is the global quantity for each slot. 3) Available Every Week:- Set “Yes” to configure time slots for all days of the week. If you don’t want to configure the time slots for all the days of the week set “No“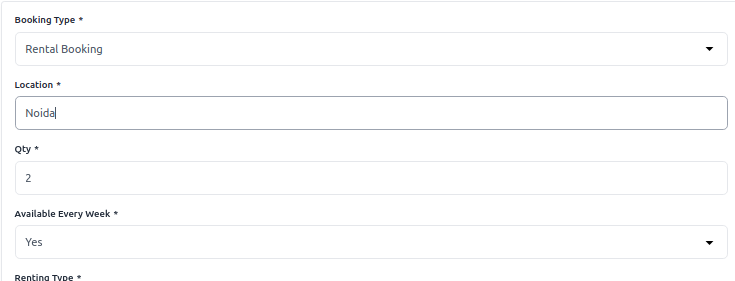
Front End:-
Here customer has to select the option to choose the Rent option either Daily Basis or Hourly Basis (if this is already configured in the backend).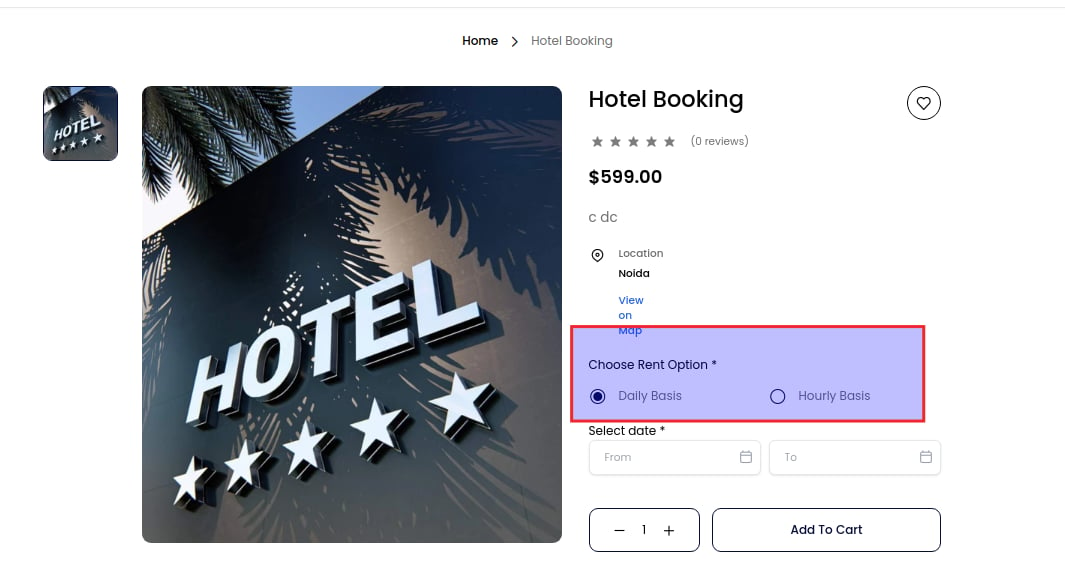
Table Booking:-
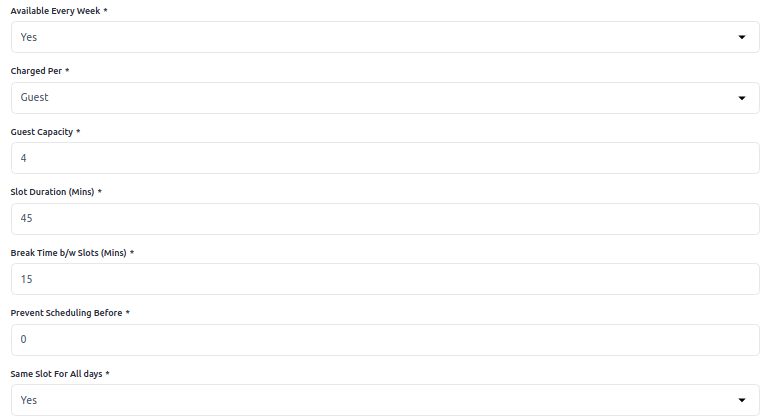
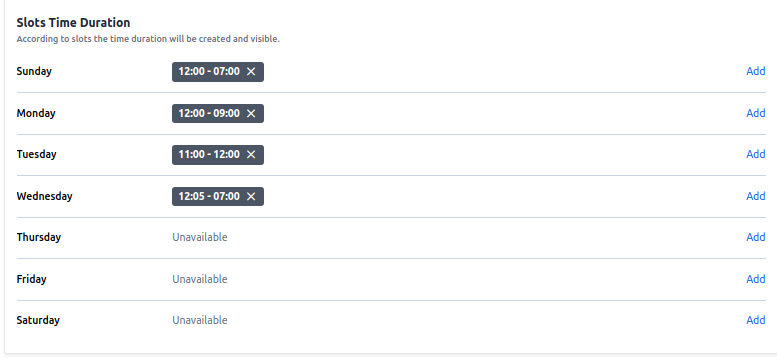
The admin can create a Table booking product as shown below in the screenshot. Here Admin has to select the Table Booking type.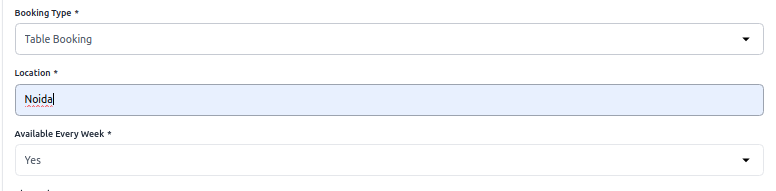
Front End:-
Here customer has to select the date and time and add a note for admin.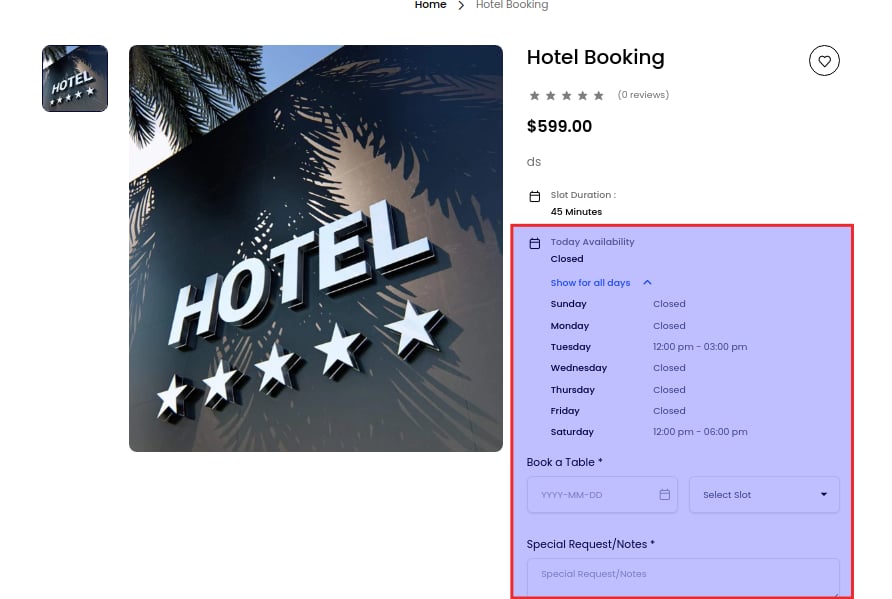
Admin Panel
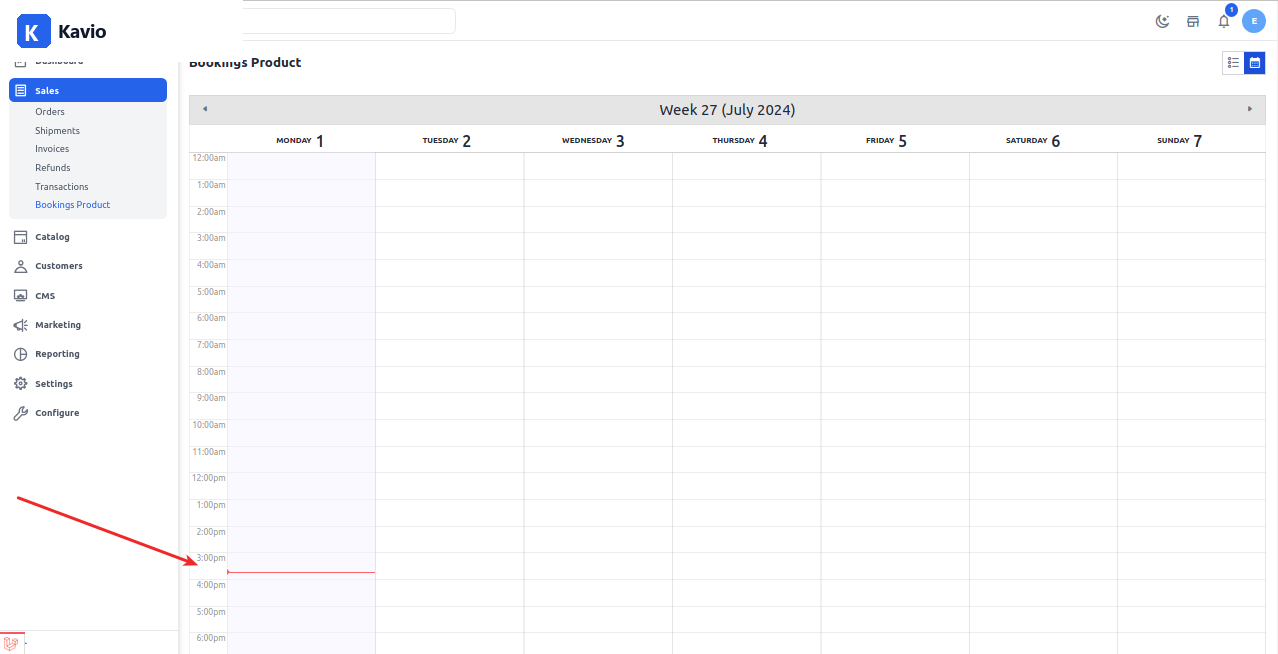
After placing the order login to the admin panel of Kavio Ecommerce Click on Sales >> Bookings and you will be able to see the ordered product in the booking product datagrid also you can see the calendar view of your booking for this click on Calendar button as shown in the below image.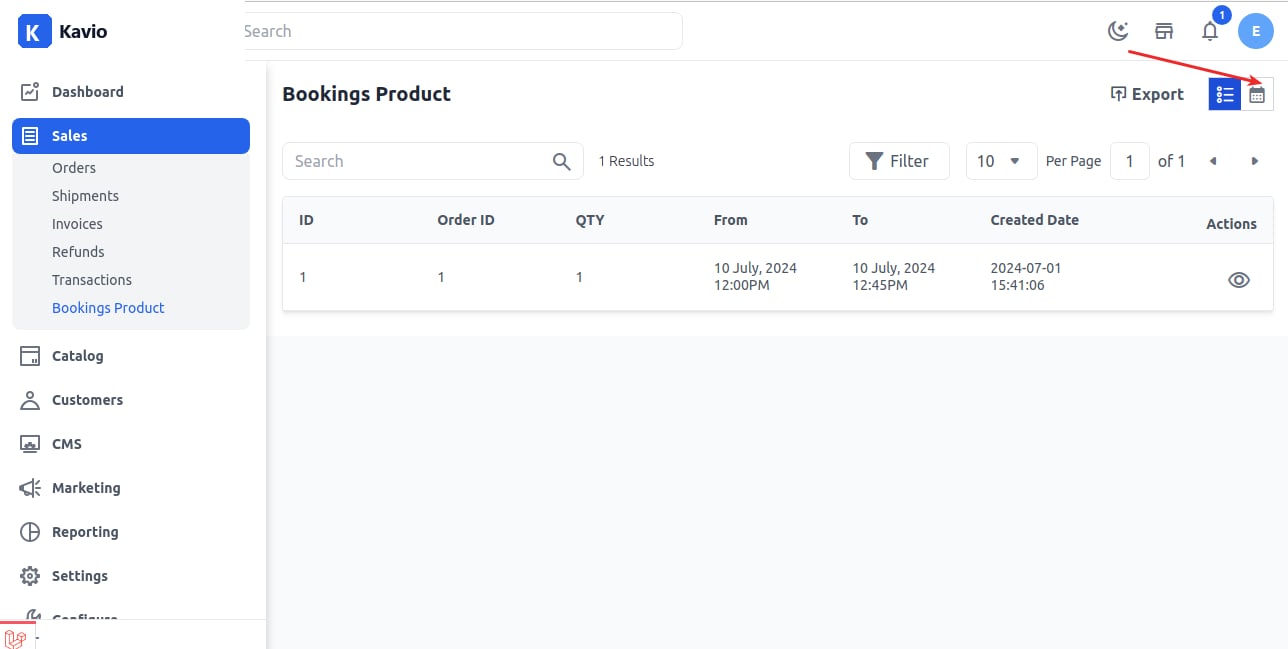
Calendar View
The ordered slot is booked in the calendar view as shown in the below image.