
Creating Storefront in Kavio Ecommerce
Step 1: Go to Settings >> Channels >> Create Channel.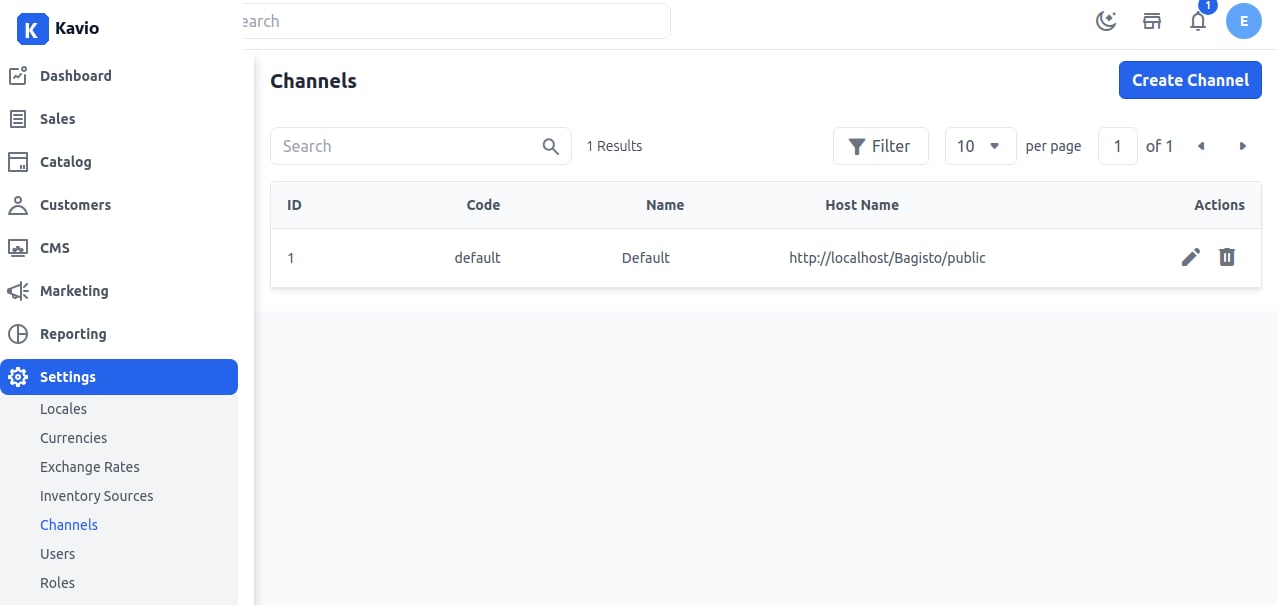
General
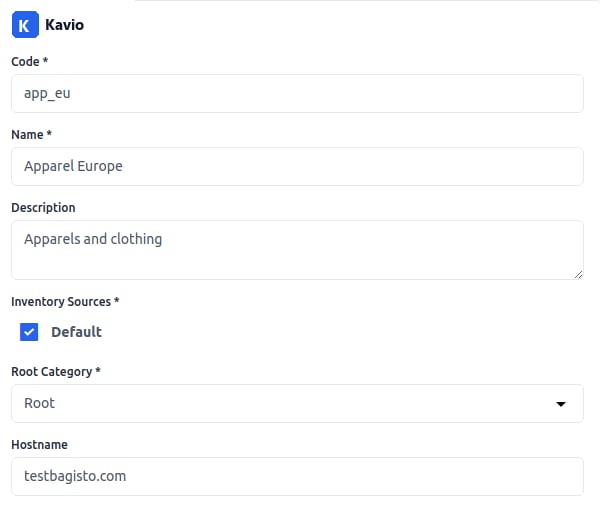
1. Code: Enter a code for your store.2. Name: Provide a name for your store.
3. Description: Add details about your store, its purpose, and products.
4. Inventory Sources: Select one or more inventories for this store.
5. Root Category: Choose a root category from the dropdown.
6. Hostname: Enter the URL of your website to connect it with Kavio Ecommerce.
Currencies and Locales
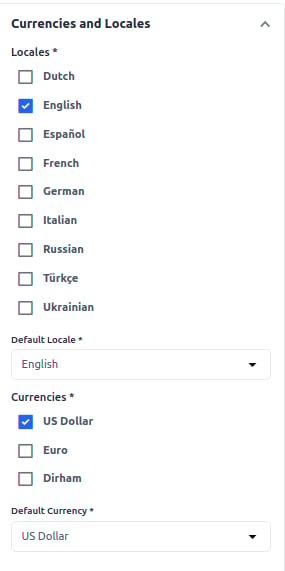
1. Locales: Select one or more locales for the store.2. Default Locale: Choose the default locale.
3. Currencies: Select one or more currencies for the store.
Design
Select a theme from the dropdown (if multiple themes are available).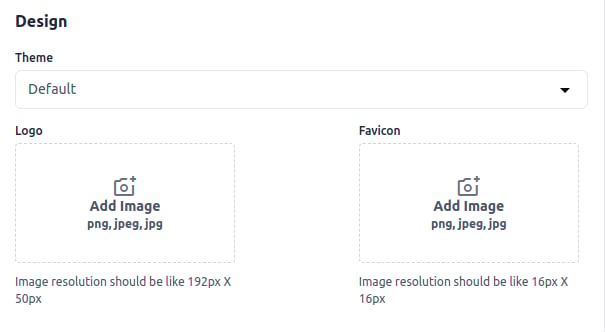
Logo
Upload a logo for the frontend and click Save Channel.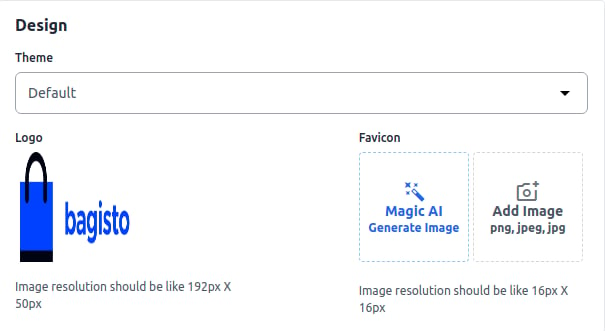
Logo on Frontend
The updated logo will be visible on the frontend.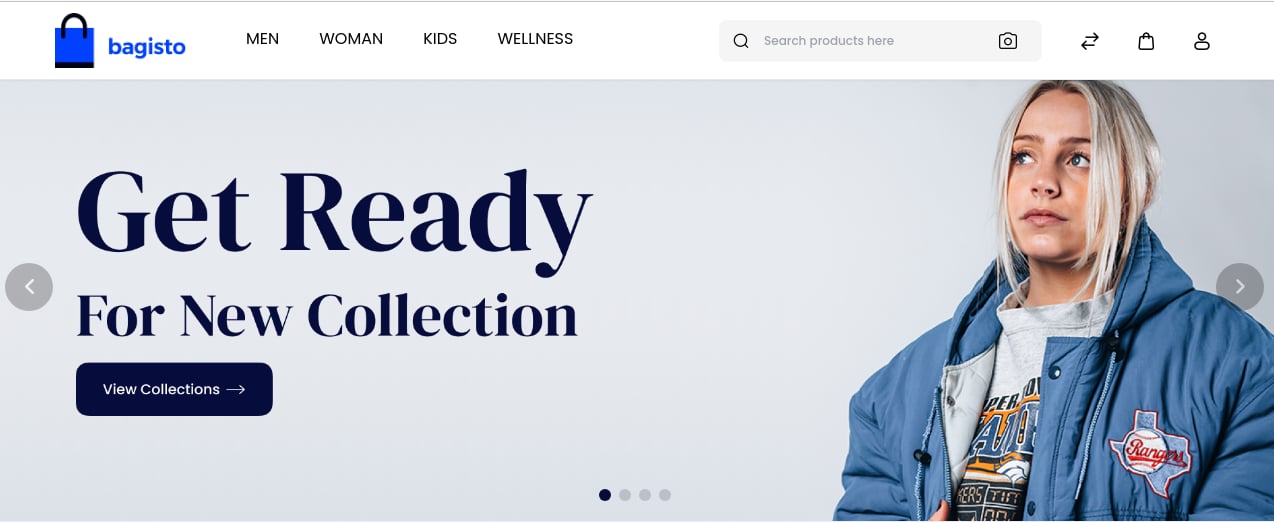
Favicon
Upload a favicon for the frontend and click Save Channel.Favicon on Frontend
The updated favicon will be visible on the frontend.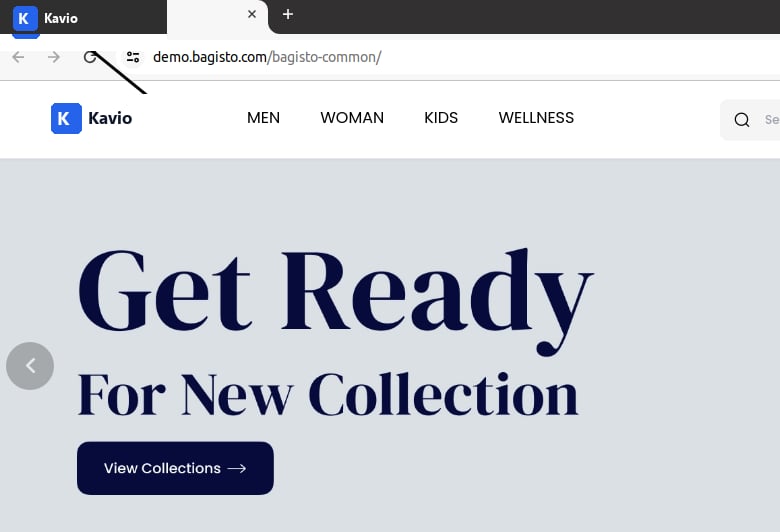
Home Page SEO
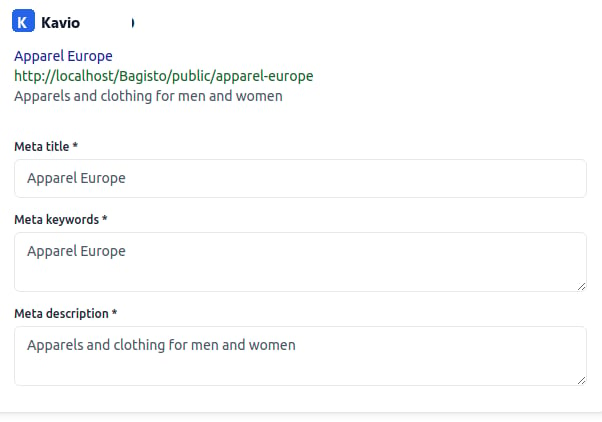
1. Meta Title: Enter the main title for SEO.2. Meta Keywords: Provide keywords for better search visibility.
3. Meta Description: Add a description to appear in search results.
Maintenance Mode
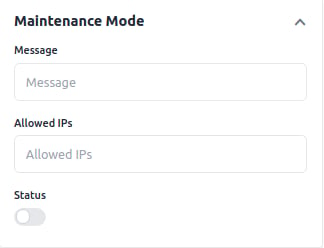
Maintenance mode allows you to temporarily disable your store while making updates. 1. Message: Message shown to customers during maintenance.2. Allowed IPs: IPs that can access the store during maintenance.
3. Status: Enable or disable maintenance mode.
Storefront Created
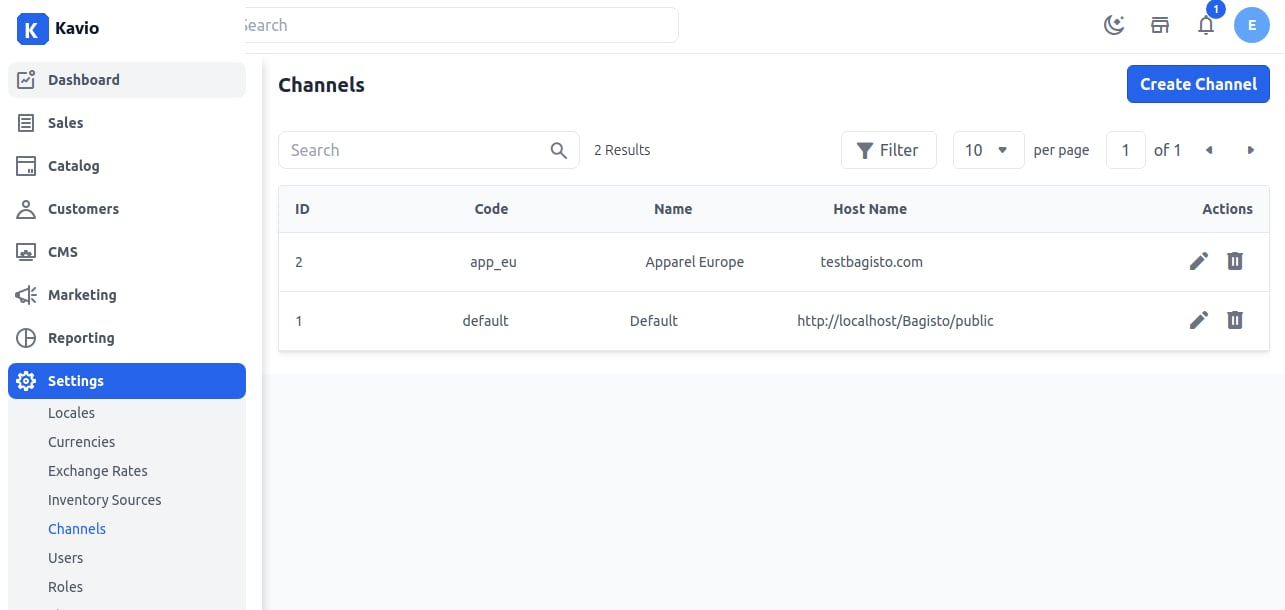
After saving, your new Storefront will be listed.